 It took me a while to transition mentally from having an exclusively breastfed baby to a happily eating toddler. One of the areas I struggled in for a while was what snack I could have on hand that was fat- and protein-filled rather than 100% carbohydrate. It would make it so much easier to quickly throw together a balanced meal on a busy day. And it would provide my toddler with a more grounding energy-dense snack if he was crashing well before the next meal.
The answer: Energy Balls! (or “nut balls” as our family calls them)


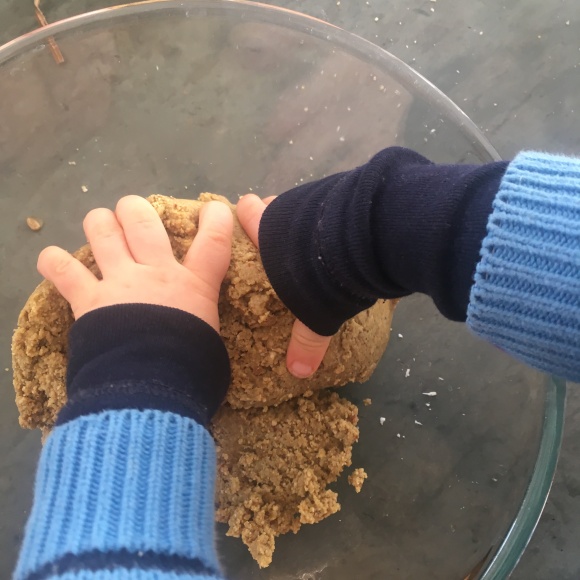
Energy balls are made from nuts, coconut, and dried fruit. They are mildly sweet and their texture isn’t as sticky as nut butters. When hungry, my toddler will always eat them when offered. They travel well and store for weeks in the fridge. And, if you’re comfortable having your toddler help with using the food processor, they can be made with full toddler involvement. In other words, making energy balls can BE your fun activity for the day.
Once you master the general recipe, there’s lots of room for improvisation. I like having cashews for at least 50% of the nut/seed mixture because they have a neutral flavor and result in a creamy final texture. The most important part of the process to remember when experimenting is making sure the texture gets sticky enough to clump into balls. Try the recipe below to get comfortable, and then try your own variations based on flavors you love or ingredients you have on hand.
A note: We soak, sprout, or ferment all the grains, beans, and seeds we eat. The nuts I use for this recipe have been soaked in salt water and dehydrated first. This makes them easier to digest and makes more nutrients available to our bodies. If you’re interested in learning more, I thought this was a clear and informative article. Both soaked/dehydrated and “regular” nuts can be used successfully for this recipe!
Final note: Dessert energy balls! The recipe below is meant to be a nourishing every-day snack that you can feel good about feeding to your kid whenever they want. If they eat a bunch for a snack and don’t eat their protein at dinner, no big deal. However, the recipe can also be turned into a nourishing and indulgent treat by adding a few more dates and/or chocolate chips. They can also be coated in melted chocolate. Yum! We did this around the holidays for stocking stuffers and to enjoy (it was not a sacrifice, we all really enjoyed!) the resulting nut balls instead of cookies.


Energy Balls
(makes apx. 1 quart of small balls)
2 cups cashews
1 cup other seeds/nuts
1 cup shredded coconut
1-2 t. spices (I use ginger, turmeric, cinnamon, nutmeg, and/or vanilla with a pinch of black pepper)
6 dates, chopped (or more if you want the energy balls to taste noticeably sweet – like cookie dough)
pinch of salt
1/2 cup dried fruit (If larger pieces, dice into small bits. If hard, soak ahead of time in water.)
- Assemble food processor on a counter that toddler can safely stand at. Do not plug in yet.
- Fill measuring cups with cashews, nuts and seeds. Have the toddler dump them into the food processor. Taste testing is allowed 🙂
- Provide toddler with ear protection if desired.
- Blend until nuts have turned into flour. Let your toddler turn the blender off and on. (Note: this is the step that can mess things up… if you don’t blend enough here, it can be hard to get the balls to stick together later).
- Add coconut, dates, spices, and salt. Allow toddler to taste test ingredients and smell spices.
- Blend until mixture forms a ball. This is hard work for the food processor. It can help to stop every once in a while, break up the clumps with a spoon, and/or pulse.
- Taste test and take a spoonful out to see if it can be squeezed into balls without crumbling.
- When the mixture passes your squeeze test, put the mixture into a mixing bowl and add in your dried fruit. Mix together with washed hands or a mixing spoon.
- When still warm, squeeze teaspoon-sized portions of the mixture into balls and place on a plate.
- Refrigerate plate for several hours to harden. Then pour into a storage container and store in fridge.
